Looking from the inside on clear plastic parts
Many products in recent years have benefited from see through plastic parts to improve interaction, show off internals, display lighting effects, or just to be stylishly unique. In some cases very little cost will be spared to achieve an optical clarity or just the right look, but in most products much less thought is put into what it will take to make the clear plastic elements capture the vision depicted in early development renderings. Some upfront discussions and planning with the product development team can help focus expectations, and needed steps to get the see through parts to meet their intended goals, at reasonable costs.
If the clear parts in question are not intended to be a light shaping optic or clear window for an instrument, then there is actually some latitude in making them see through. This doesn’t mean they will ever be as easy as opaque, textured plastic parts, as transparent plastic items have shinny finishes and show internal molding trace features like ejector marks that would be otherwise hidden. These will always present more of a challenge.

First decide what is really expected of the clear parts in the intended design. If they are not an “A” surface feature (primary visible face of the product), or if the parts might have a light frosting on them to help defuse lighting or appearance, then some of the concerns on the part’s clarity, look through properties, and molding aberrations may not be much more of a concern than other non-transparent parts. However, if the clear part in question is more front and center, the expectation of their visual perfection will need to be set higher. It will be important to consider early on what the clear part’s function will be. Besides being transparent does the part perform other functions like mounting other internal components and holding housing pieces together? This will increase the number of internal features which will impact look through quality. Can the clear surface of the part in question be simplified, avoid internal features, or can the clear portion be a separate, simpler part? Lastly, is the style of the clear feature in the part really of value to the overall look of the product? Is it functional and an integrated part of the design which promotes the product, or is it just empty and costly feature?

So you now have your clear parts confirmed and what is expected of them. As mentioned, there may still be room to simplify them without compromising the intended look of the product. Larger parts will be more challenging in some ways, molding large clear parts usually have features and ejector marks on the inside. Ejectors are parts of the tooling that push the part out of the mold and leave witness marks around their edges, usually little circles.

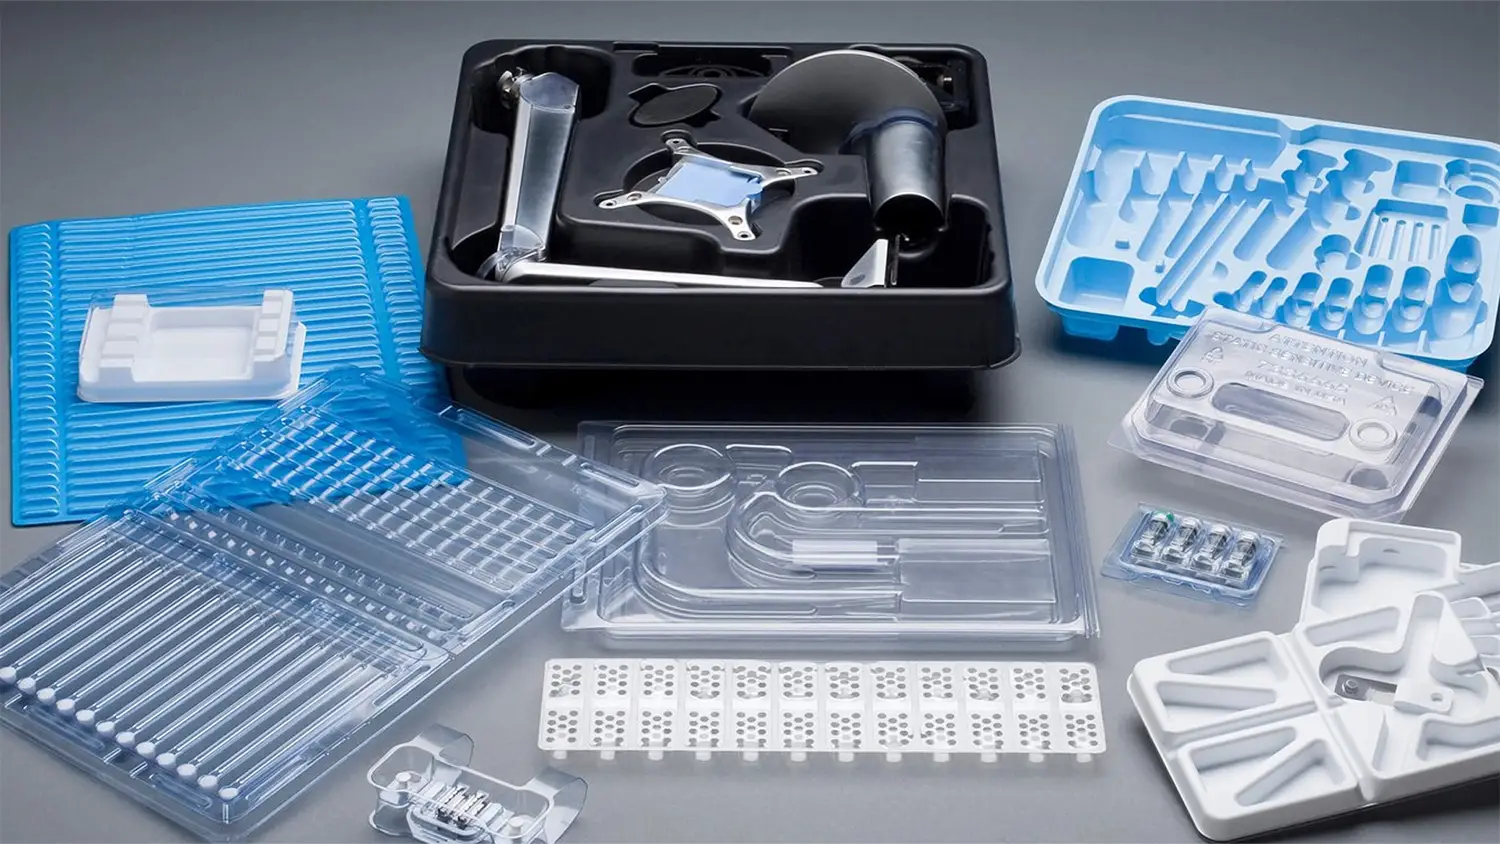
So can the clear surface be replaced with clear sheet material and still be integrated into the product design cleanly? The answer is usually yes if this is considered early on, and the benefit is usually avoiding many hassles getting a molded part intended for see through to make for a good quality clear part which can be delivered in production with reasonable costs and time to market. Going with injection molded clear panels can add significant cost to yield reasonable production quantities simply because they have so many opportunities for reject-able flaws and extra delays to get the molded parts dialed in during the pre-production process. On the other hand flat extruded clear sheet material, Acrylic or Polycarbonate, already has good, controlled clarity. If the design only requires the face to be flat or bend around a single axis, then integrating this sheet material into other framing parts can reduce risks by ensuring quality and time to market.

However; not all designs lend themselves to flat or single bend direction clear parts, nor can the desired fit up always be achieved. In this case vacuum or pressure forming a clear sheet material can result in clear parts that allow for various surface forms with less risk of mold flow and forming imperfections. This is not risk free as heating and forming processes can produce optical variations in the newly re-shaped sheet, but these feature induced affects are usually where they would be expected to be, the process is less expensive to tool for than injection molding, and thermal forming inherently does not have mold flow variations which can exhibit imperfections.

Clear wind screen is thermo-formed, as it bends in two directions, and has airflow opening

Early LED light bulb housing vacuum formed from heated, clear sheet shows consistent clarity
If you need to go with injection molding then the simple better approach is still preferred. And, just as thermal forming geometry variations can cause visibility issues, making injection molded clear parts with simpler geometry variations will help reduce dial in time of the new part and reduce rejects. Even if the mold flow and knit lines are working well, large or odd shaped thickness transitions in the part can cause easily seen sinks or odd light bending effects that will be noticed. This is not to say you can only mold sheet like pieces (even these will be more challenging than thermo-forming extruded sheet material), but is to say that thought needs to be put into the features and shape of the clear part to be molded. Walls and ribs will not be hidden as well, and even if the part is not intended to transmit light, these transition features will catch or amplify the light available, and highlight themselves. Returns walls, if near the edges of a clear part, like those of a water glass or head lamp housing, will also cause visual variations, but at the sides of the parts the junctions and variations are less noticed, and more acceptable if seen.

This is why heavy ribbing or screw bosses on the inside central regions of a clear part is a poor choice. Even if your design is ode to the see through Apple products of the past and looking into the guts of the device is part of the plan, keep in mind these inner features and transitions will many times have exaggerated visual impact due to lens like effects in junctions and rounds, and that Apple spent a great deal of time making all of those inside features just right so they appeared at the intended visual “volume”. If they had not, then the see through product affect would have appeared poorly executed, and don’t forget how much more those see through computers sold for compared to the more plain, opaque PC competition. Some of the extra cost was due to the extra design burden.

With your molded clear part, extra attention will have to be paid to tool draft angles too. Draft is the tapper on the inside of the metal mold that allows the plastic part to be removed without having to drag all along the inside walls of the mold and be damaged during de-molding, think Jello molds. Although there may be a very polished finish on the injection mold tool, easing the release of the formed plastic part, the clear part will show scraping on the inside or outside surface much more readily. As well, any side actions or lifters in the tool, which are pieces of the tool that cam out of the way to form undercut hooks in the plastic part that would otherwise prevent removing the plastic part from the tool, any of these can leave marks on faces of the molded plastic part. For a plastic part that is clear then these witness lines and slightly mismatched sub-surfaces, as noted above, can be unavoidably visible, and even ugly. These features and tooling options need to be worked through with more attention to detail from conception of the parts in the beginning to thorough interactions with the mold tool design team closer to the end of the project.
Lastly, if you are using the clear part for some kind of lighting effect or indication, like a custom light guide, plan on creating mock-ups and prototypes to truly test this out. Often even simple looking light pipe designs can be problematic to get the right look and even brightness, and larger diffused lighting usually requires many iterations. Make sure the electrical engineering team is included in discussions on this as well as the proper number of light sources, type and the ability to adjust the light sources’ output will be key to dialing in the desired effect. There is no point to spending tens of thousands of dollars to make a poor electrically designed light source for the product.

So don’t be afraid to go clear. Just keep in mind that to execute the design efficiently and effectively there will need to be attention to details with the whole team from the beginning. Then you should be able to see your pathway to your final design clearly.


