

Product Prototype Development Services
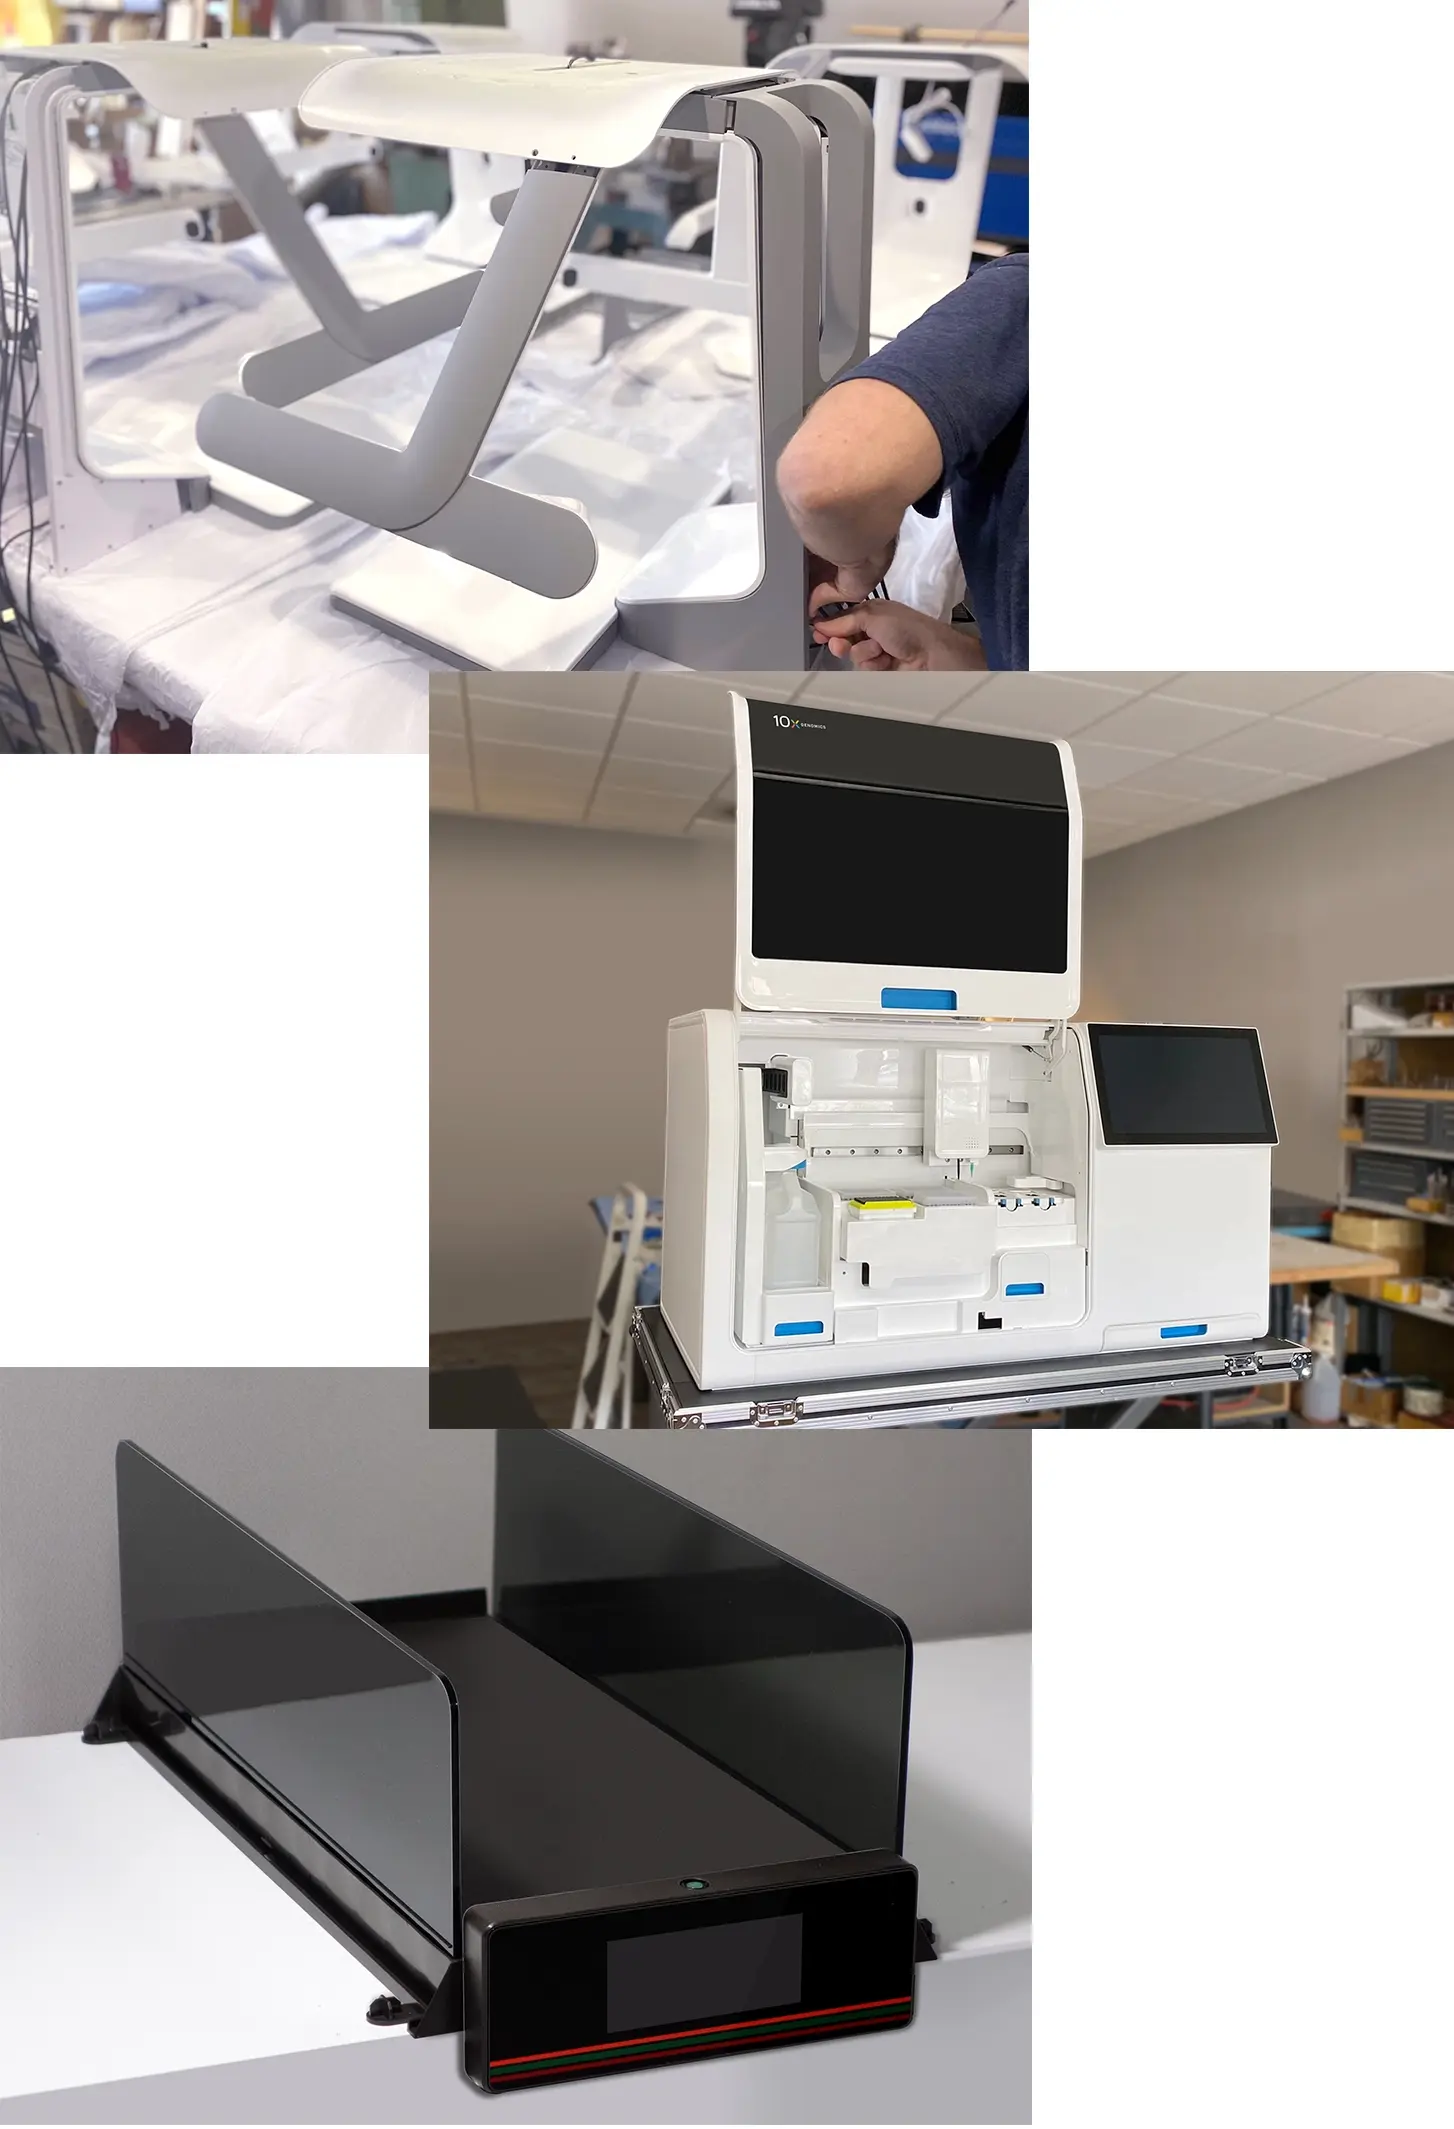
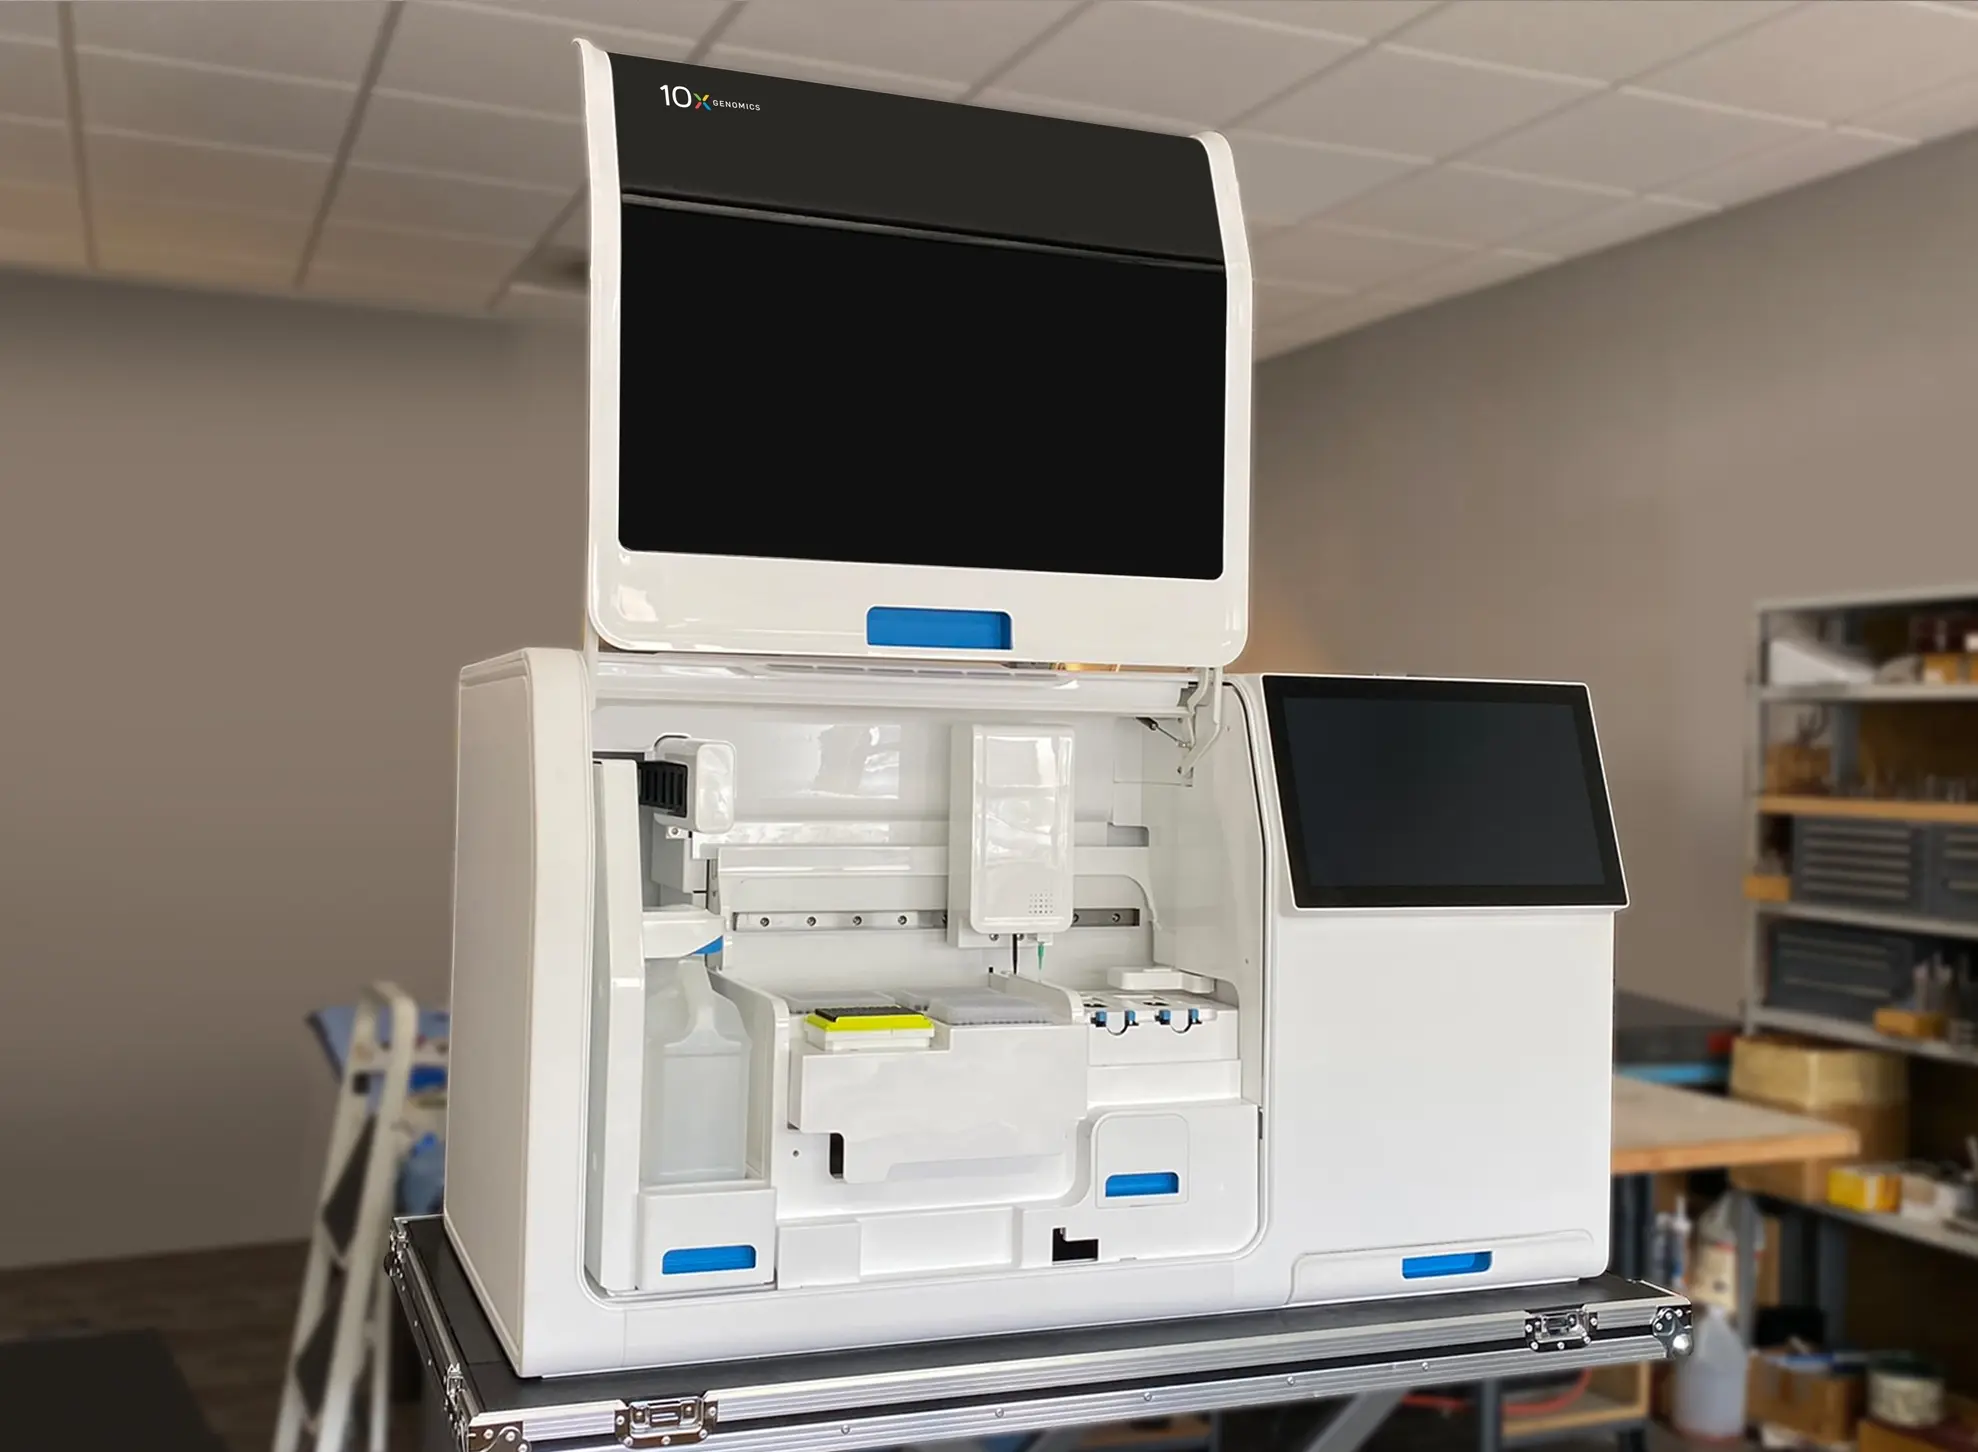
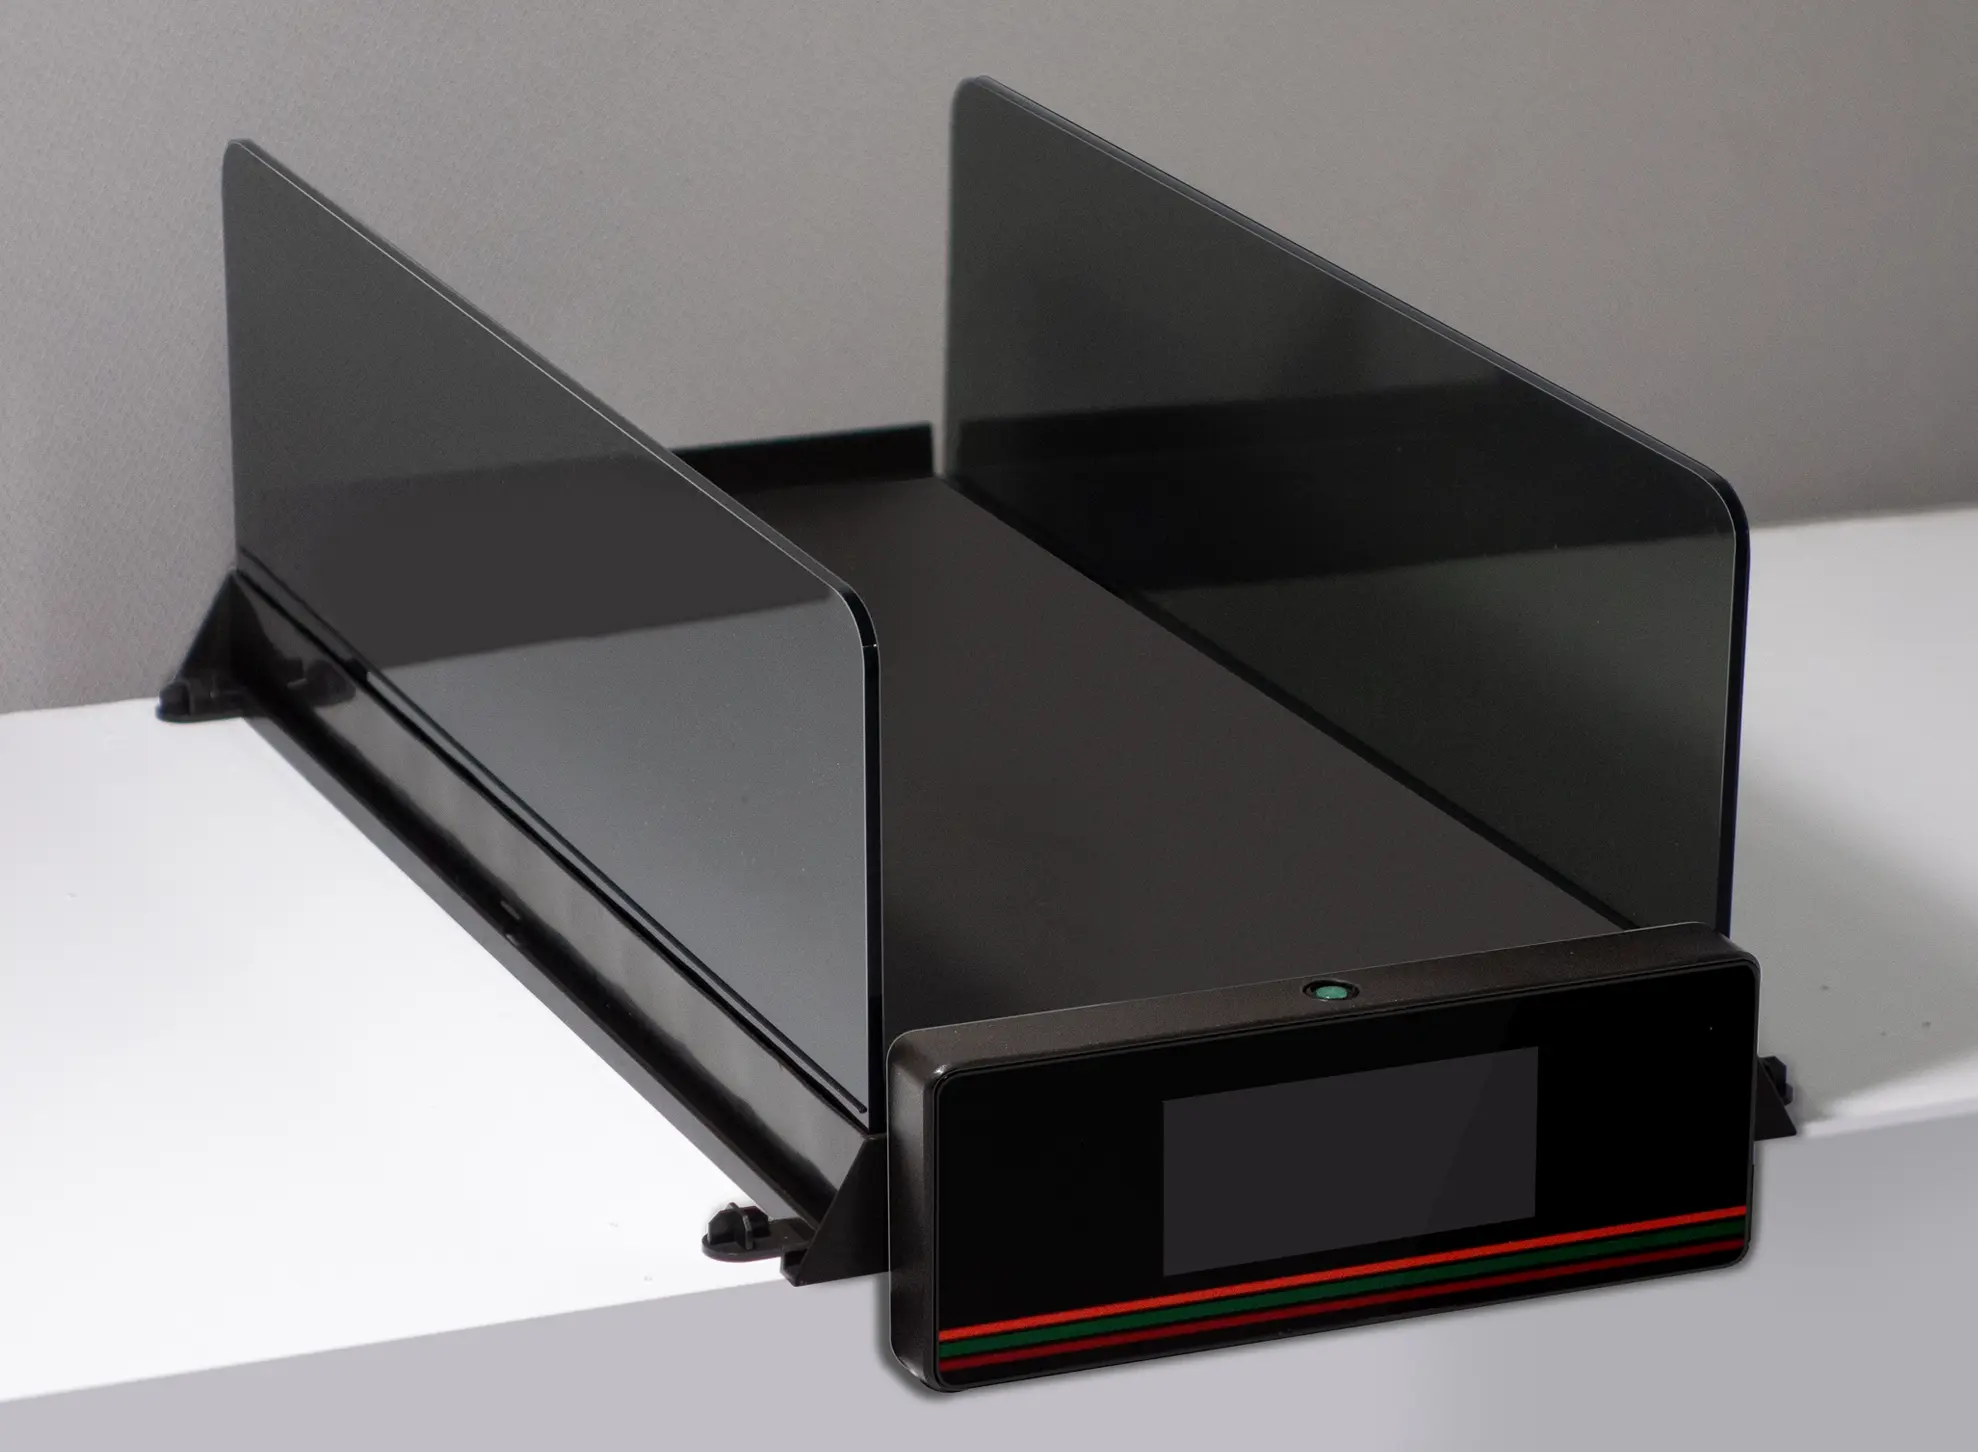
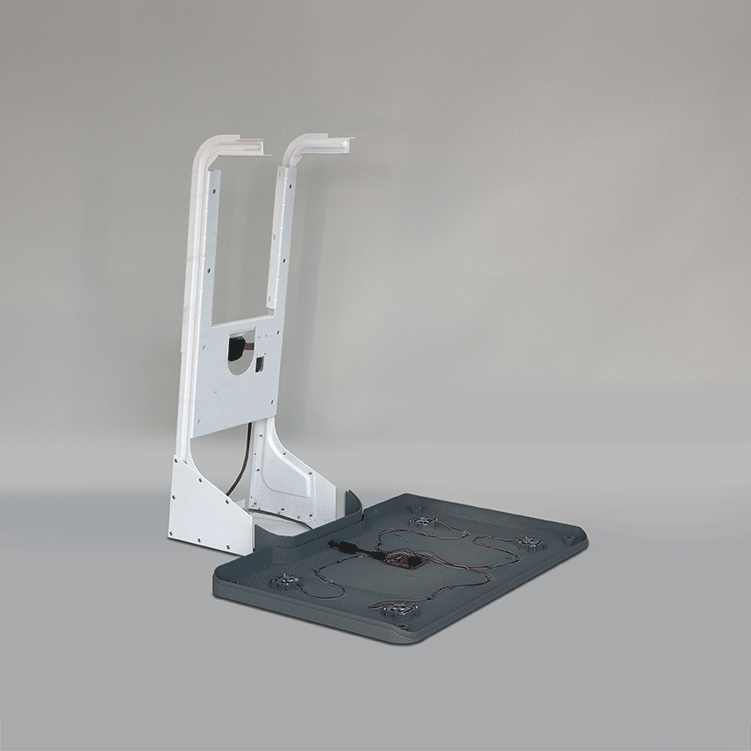
Our in-house model-making and prototype machining can produce photorealistic models, complex engineering prototypes, and high-tolerance machined parts.
Our 3D printing and laser cutting services allow for quick-turn prototypes. In our engineering laboratory, we have the tools necessary to build and test multifunctional electromechanical systems. Building engineering check models helps validate the products we engineer before we deliver the project — this all but guarantees your ROI.


Why Us?
- Iterative prototypes across all stages of development
- High-quality visual models
- Quick turnaround times to accelerate your process
- Transparent and effective communication
From Idea To Execution
Walking you through the entire product development journey
Prototype engineering
Fabricate and test early-stage physical and functional models to evaluate functionality, performance, and feasibility before full-scale production
Our Process

Understanding Your Goals
Determine your prototype's goal first — it can prove concepts, test functionality, validate production, or ensure visual alignment. Accuracy varies across processes, from rough models to near-final products, often impacting costs and development time.
Define Materials & Production Methods
Choose the manufacturing method that aligns with your production quantities, and we will help select materials (plastics, metals, composites) to match your prototypes to final production performance closely.
Cost & Speed
Considering your budget and timeline, we use cost-saving tactics like off-the-shelf components and smaller-scale models while factoring in urgency and fidelity to select the best process for your project.
Assembly & Integration
Our in-house assembly capability ensures a smooth transition of seamless integration and assembly of hardware prototypes, guaranteeing functionality and reliability.
Testing & Refinement
Using our engineering lab, we can quickly build and test the functionality of a range of electromechanical systems. We can also create a full test protocol, conduct thorough evaluations, and implement iterative improvements to enhance performance and functionality.
Prototyping
We can fabricate a wide range of models, from appearance models to engineering prototypes, to best suit your needs.
- Foam core & foam mock-ups
- 3D printing - SLA & FDM
- Laser cutting
- Urethane casting
- Appearance models
- Engineering prototypes
- Low-volume production (5-50 units)


